Raspberry Pi Internet LED Control
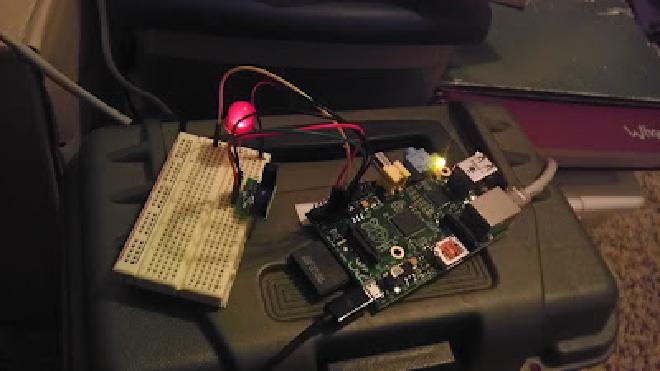
Recently I obtained a Raspberry Pi. This exciting development board offers many features that quickly made it the center of a large community of makers. It runs embedded Linux and can be used for a wide variety of projects. To me, the most exciting feature is the web connectivity of the Pi. The built-in Ethernet port allows for projects that are controlled or control the internet. I decided to make a webserver running from the Pi to control a LED.
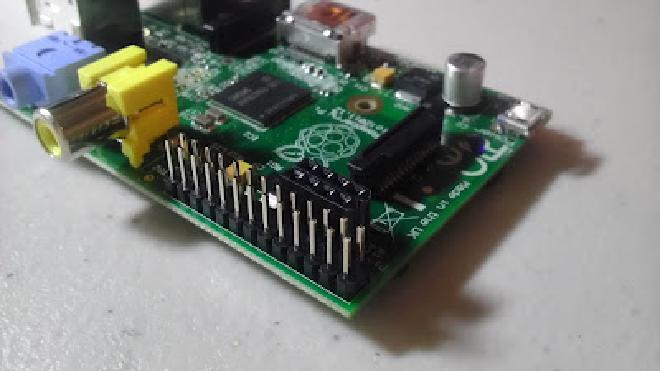
The Raspberry Pi comes with a general purpose input/output (GPIO) header attached. However, this header is all male pins and I did not have any ribbon cables or other male connectors. To fix this I soldered female pins to the second expansion header on the board, which allows me to use male jumpers.
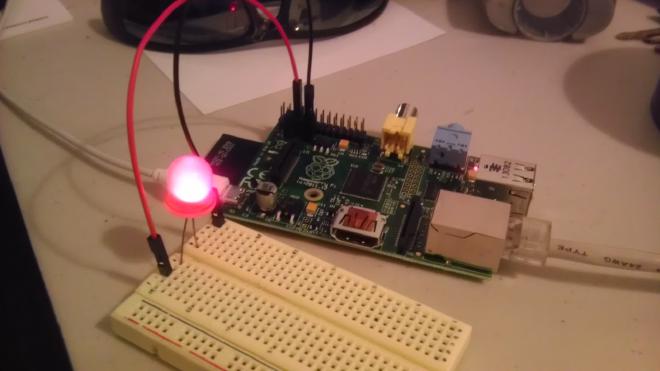
From there it was simple to connect an LED to the Raspberry Pi.
I knew that I wanted to do some kind of web-controlled interface. I decided to use Python for the language because I had preformed all the LED tests in it and found it simple enough. First I used webpy to host a simple webpage from the Raspberry Pi. With a google search I found some simple code using webpy to control the GPIO pins on the Raspberry Pi. This code works, but it requires the user to visit separate urls to control the LED. I modified the code to have hyperlinks on the homepage that control the LED and also show the status of the LED.
<![CDATA[ $def with (status) $if status:
LED Status: $status
$else: LED status unknownTurn On
Turn Off
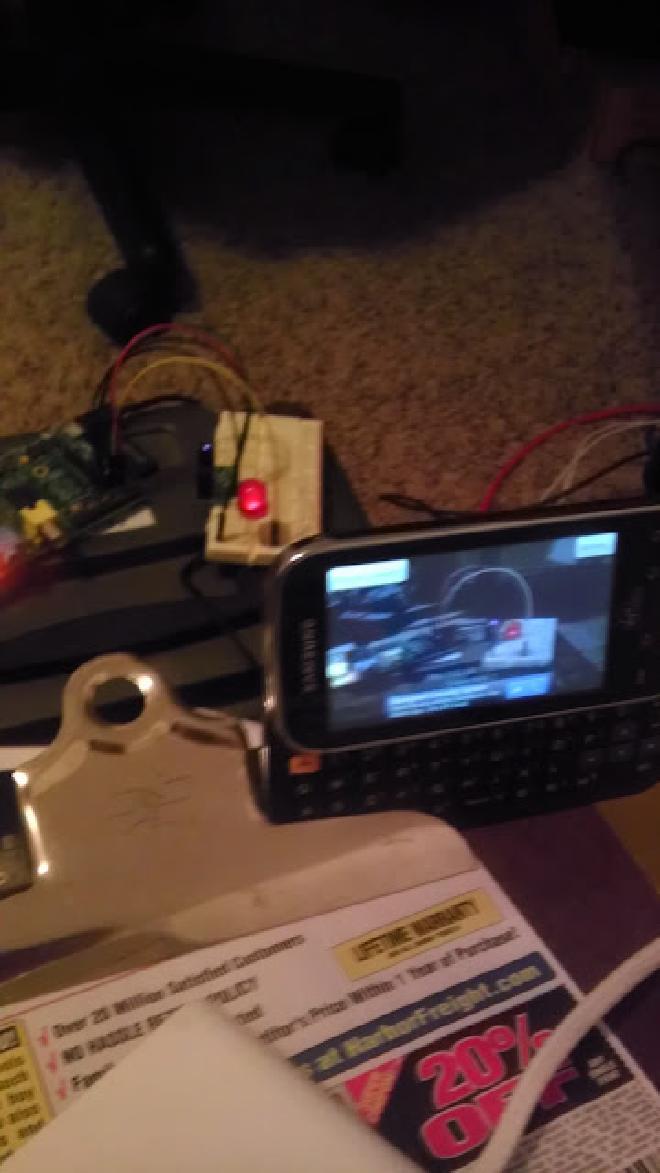
]]>Video of me controlling the LED from my phone
Then I sent the address to some of my friends to test out. After a few minutes of LED light show in my room, they got bored. The webpage indicator only updated when the page was refreshed, and there wasn’t any way to tell if you were actually doing anything in real life.
Video of someone else controlling the LED from the internet
To make it more entertaining, I added a webcam using my old android phone the the IP Webcam app.
Being able to control and see a light over the internet is pretty cool, but my friends wanted more control! After a disappointing search though my parts bin, I realized I only had red LEDs. Still, I used four LEDs and a note card with labels to allow make things more interesting.
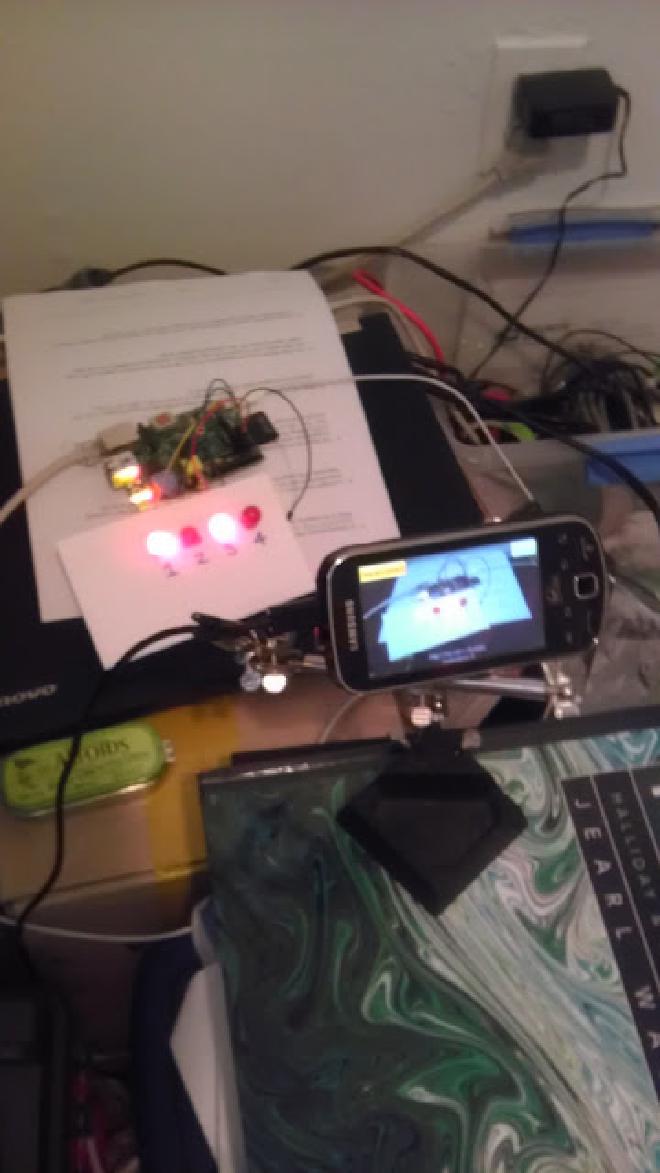
The code was modified to allow the controlling of 4 LEDs, and a new HTML template was created that allowed the control and embedded the webcam.
Python code
HTML template
The code works by creating a global variable array with 4 elements. Each LED has it’s own element that indicates if it is on (1) or off (0). For example: when the “/?turn=1” url is entered, the first LED is toggled on or off through GPIO, and the command is printed to the terminal, then the main page is updated with the status of the LED and the user is returned there.
Video with the entire four LED setup in action
Comments: #
Great Project! How did you make your webpy webpag… #
Great Project!
How did you make your webpy webpage available to your friends?
Were they using an internet connection that was outside of your local home network?
Thanks
#### Yes, I had it connected to the internet. This isn&... [Paul Schow](https://www.blogger.com/profile/02139879554145337777 "noreply@blogger.com") -
Yes, I had it connected to the internet. This isn’t really safe or secure though, so I only had it up for a short amount of time.